General Layout

Reslice Control

Image Panel: for viewing image and interacting with speckles tracks.
Control Panel: Collection of buttons and functionality. A more complete explanation and keyboard shortcuts are here
Profiler: Shows the intensity of a speckle for every frame that it exists. The red line is the intensity within a small circle and the blue line is the intensity within a ring around the inner circle. The radii of the circles are adjustable by changing the global parameters. The green lines are the same measurements for 2 frames before and after the speckle track exists.
Left-Clicking on this panel will change to the slice corresponding to where you clicked.
The right mouse button allows you allows you to change the visible range. Press the right mouse button and drag across the range you wish to see, then release the right mouse button. This will limit the frames that are profiled. Click the right mouse button to change to the full range view.
Data Table: Shows a variety of values for the speckles. Clicking on a value in the data table will change the current frame to a frame corresponding to the value you clicked. Such as if you click the 'first frame' value column then you will move to the first frame the speckle appeared in.
More information can be found in the controls section
Message Panel: Shows any pending messages. There is a cancel button that can interrupt most actions. Escape is a shortcut for the cancel button.
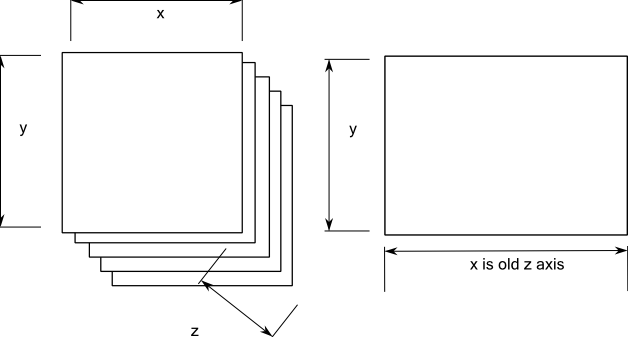
Reslice Control: Shows any a 'resliced' version of the image which is a maximum projection along the x-axis. The new x-axis corresponds to the old z-axis.

By clicking on the reslice control the speckle tracker will move to the corresponding frame. The horizontal strip that corresponds to the clicked region will be highlighted.
The region of the reslice control can be changed by using the Select Region button.
To zoom into a reslice control window use the ImageJ controls and then click "Show Resliced" to redraw the speckle tracks.