SAS v8.2 Installation Guide:
(OS - IBM PC)
Step
0:
(1).
For SAS version 8.2, you should have five-disk set. Labeled as Setup,
Solutions Disk 1, Solutions Disk 2, Secure Windows, and Share
Components. Besides those, you may or may not need a updated "setinit.sss"
file depending on the disk set you got. You got to have them with you in order
to get this installation done.
(2). Of course, you need a CD-ROM.
The needed space for a complete installation is around 0.97 Giga bytes.
Please talk to me if you have a concern about HD space. I can tell you how to
customize your installation.
Step
1:
(1).
Place the disk labeled "Setup" in your CD-ROM. It will pop up
the SAS main menu window, if you didn't disable the autorun function of the
CD-ROM. If it doesn't pop up automatically, please open the windows explorer.
Open your CD-ROM, there should be one execution file setup.exe under the root
directory. Double click it to open the application. In either way, you should
see the SAS main-menu window like:
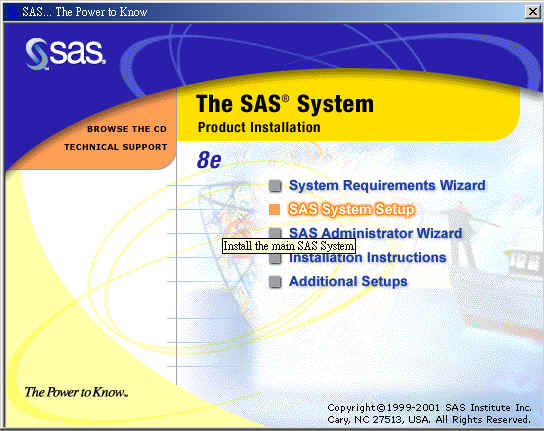
Click
the second item: "SAS System Setup".
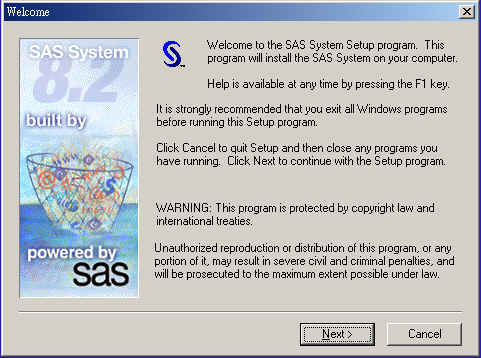
Step 2: The welcome window pop-up, and
asks whether you want to proceed or not. In our intention, choose
"Next".
Step 3:(Optional) You may not see the
window below, if your license file is not out of date like mine. Anyway, if you
did see this window asking you to specify the location of the folder for a
correct license, find the file "setinit.sss". The bookstore,
vender, or somebody whom you bought SAS from should give you this file. Go ask
them, if the window pop-up and you can't find that file.
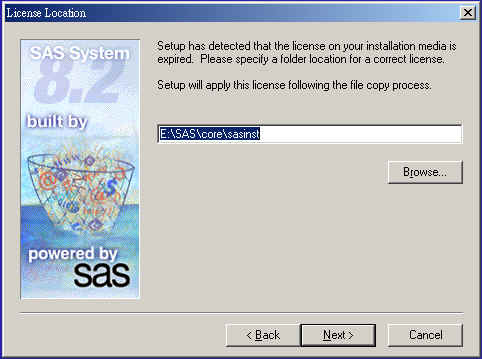
If you know where it is, fill the location path in the entry. In my case, I
fill in "d:\downloads" where I put that file. Then click
"Next".
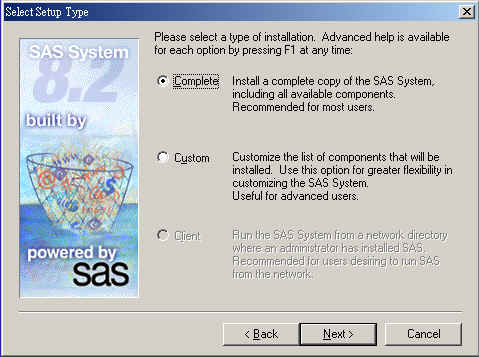
Step 4: The "Select Setup Type"
window pop-up, and asks how you want to install your personal SAS. Choose
"complete", if HD space is not your concern.
Step 5: Specify the destination location
you want, and press "Next". Note you don't want to choose one drive
that is protected from writing.

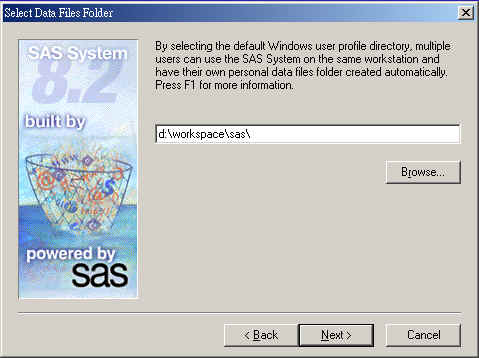
Step 6: Specify personal data file
folder. This is not so important, as long as it is writable. Leave it as default
for simplicity, then press "Next".
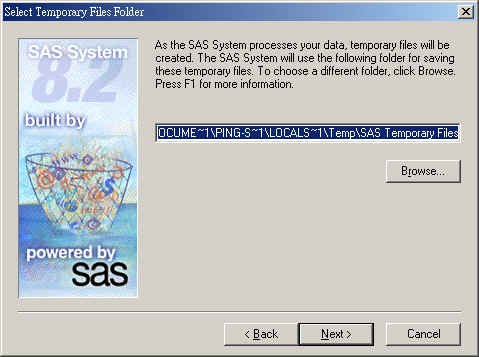
Step 7: Specify the folder for working
space. For those of you who need to run simulation, you'd better be careful
about this (Talk to me if you have questions.). If that is not your concern,
then just leave it as default for simplicity, press "Next" to proceed.
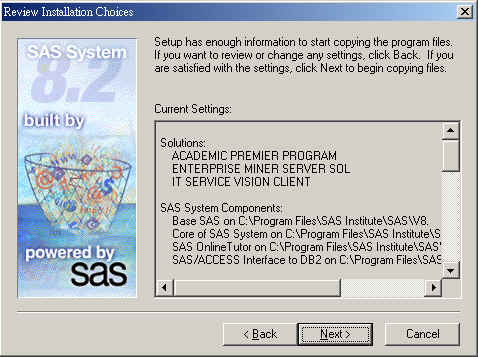
Step 8: Review your settings. You have a
last chance to make changes (press back to previous steps), before the wizard
starts the installation. Press "Next" to begin installation.
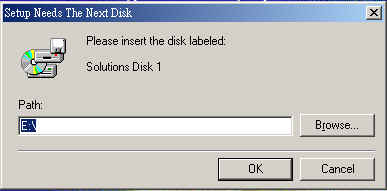
Step 9: Insert the disk labeled
Solutions Disk 1, then press "OK".
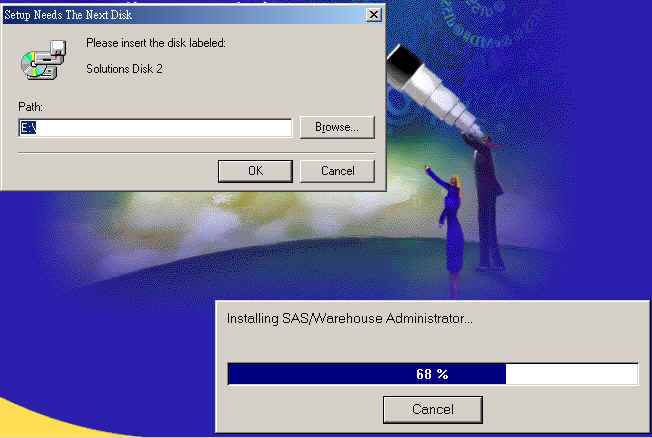
Step 10: Insert the disk labeled
Solutions Disk 2, then press "OK"..
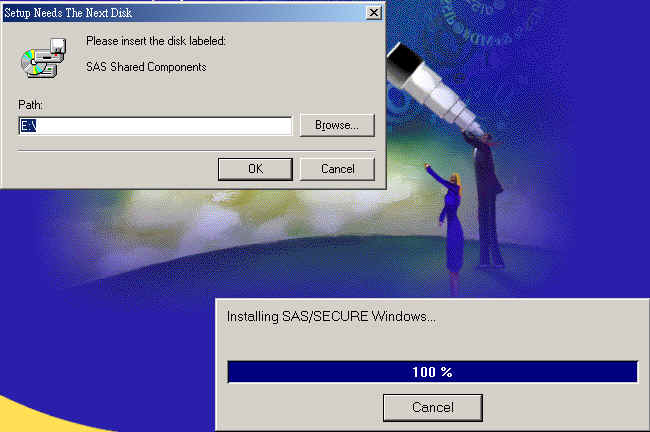
Step 11: Insert the disk labeled Secure
Windows, then press "OK"..

Step 11: Insert the disk labeled Shared
Components, then press "OK"..
Step 12: Press "Finish" to end
the installation.
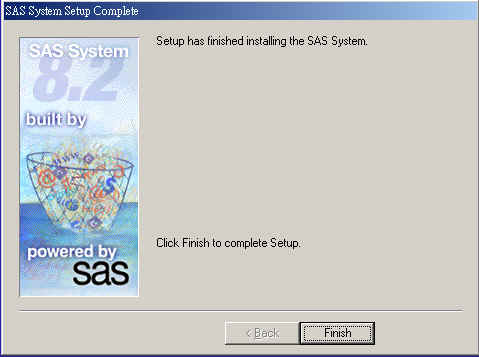
Done! You are set. Easy,
right!